
Quick Answer
How do you choose a floodlight beam angle? Start with the target width and throw distance, calculate the approximate beam width, then check a photometric file or a representative sample. A narrow beam concentrates light over a smaller area, while a wider beam covers more surface at the same distance. A diffuser can soften transitions and blend multiple emitters, but it may also reduce peak intensity. The degree value alone does not tell you illuminance, uniformity, spill, or color quality.
Key Takeaways
- Beam angle is measured between the two directions where luminous intensity falls to 50% of the maximum; field angle uses the 10% points.
- Approximate beam width on a perpendicular surface is
2 × throw distance × tan(beam angle ÷ 2). - Equal wattage or lumen output does not mean equal center intensity, beam quality, or useful coverage.
- A diffuser and a different primary optic are not automatically equivalent. Compare the complete fixture configuration.
- For a rectangular panel, ask for horizontal and vertical distribution rather than applying one symmetrical beam angle.
- Use calculations for planning, then verify with photometric data and a sample test on the actual surface.
What Does Floodlight Beam Angle Actually Measure?
The Illuminating Engineering Society definition of beam angle uses the two directions where luminous intensity reaches 50% of the maximum intensity in a plane through the nominal beam centerline. This is sometimes called the full width at half maximum.
That definition explains why the visible pool of light often looks wider than the published beam angle. Light continues outside the 50% boundary. The weaker outer area can still be visible on a pale wall, through haze, or in a dark venue.
The IES field-angle definition uses the directions where intensity reaches 10% of maximum. Field angle therefore describes a wider part of the distribution. When comparing two products, confirm whether the supplier is reporting beam angle, field angle, a nominal lens angle, or a visual estimate.
Beam Angle vs Field Angle vs Visible Spill
These three terms answer different questions:
| Term | Typical Boundary | What It Helps Describe |
|---|---|---|
| Beam angle | 50% of maximum intensity | The stronger central portion of the beam |
| Field angle | 10% of maximum intensity | The wider useful field around the central beam |
| Visible spill | No fixed threshold | Light that remains visible outside the defined photometric boundaries |
A product described only as “40°” is therefore incomplete. A buyer should ask whether 40° is the measured beam angle, a lens designation, or the approximate spread after a diffuser. For non-symmetrical output, request both horizontal and vertical angles.
Beam Width Calculator: Angle and Throw Distance
For a fixture aimed perpendicular to a flat surface, use this planning formula:
beam width ≈ 2 × throw distance × tan(beam angle ÷ 2)
The result uses the same unit as the throw distance. A 3 m input gives a result in metres; a 10 ft input gives a result in feet. The ERCO light-beam diameter reference likewise connects beam diameter with emission angle and distance.
Approximate Beam Width Examples
| Beam Angle | At 1 m | At 3 m | At 5 m | At 10 m |
|---|---|---|---|---|
| 10° | 0.17 m | 0.52 m | 0.87 m | 1.75 m |
| 20° | 0.35 m | 1.06 m | 1.76 m | 3.53 m |
| 40° | 0.73 m | 2.18 m | 3.64 m | 7.28 m |
| 60° | 1.15 m | 3.46 m | 5.77 m | 11.55 m |
These are geometric estimates, not predicted lux values. The formula models a symmetrical cone, a perpendicular target, and a stated angle that matches the measured photometric boundary. It does not include lens losses, diffuser transmission, overlapping emitters, tilt, surface reflectance, or the weaker field outside the beam.
Narrow, Medium, or Wide Beam?
Angle categories vary by manufacturer and application, so use the following as planning language rather than a universal classification.
| Beam Character | Typical Jobs | Main Trade-Off |
|---|---|---|
| Narrow | Tall columns, long throw, façade accents, scenic highlights | More concentrated coverage, but aiming and spacing become more sensitive |
| Medium | Stage washes, ballroom walls, backdrops, general architectural accents | Balances reach, overlap, and control |
| Wide | Short throw, low walls, broad scenic surfaces, close-range fill | Covers more area, but may create more spill and lower peak intensity |
| Asymmetrical | Wall washing, cycloramas, façades, wide scenic elements | Requires horizontal and vertical data plus correct orientation |
Do not select a narrow beam only because the project needs “more brightness.” A narrow distribution can raise center intensity, but the usable result still depends on the LED source, optical efficiency, current, thermal behavior, color mix, dimming, and distance.
What a Diffuser Changes
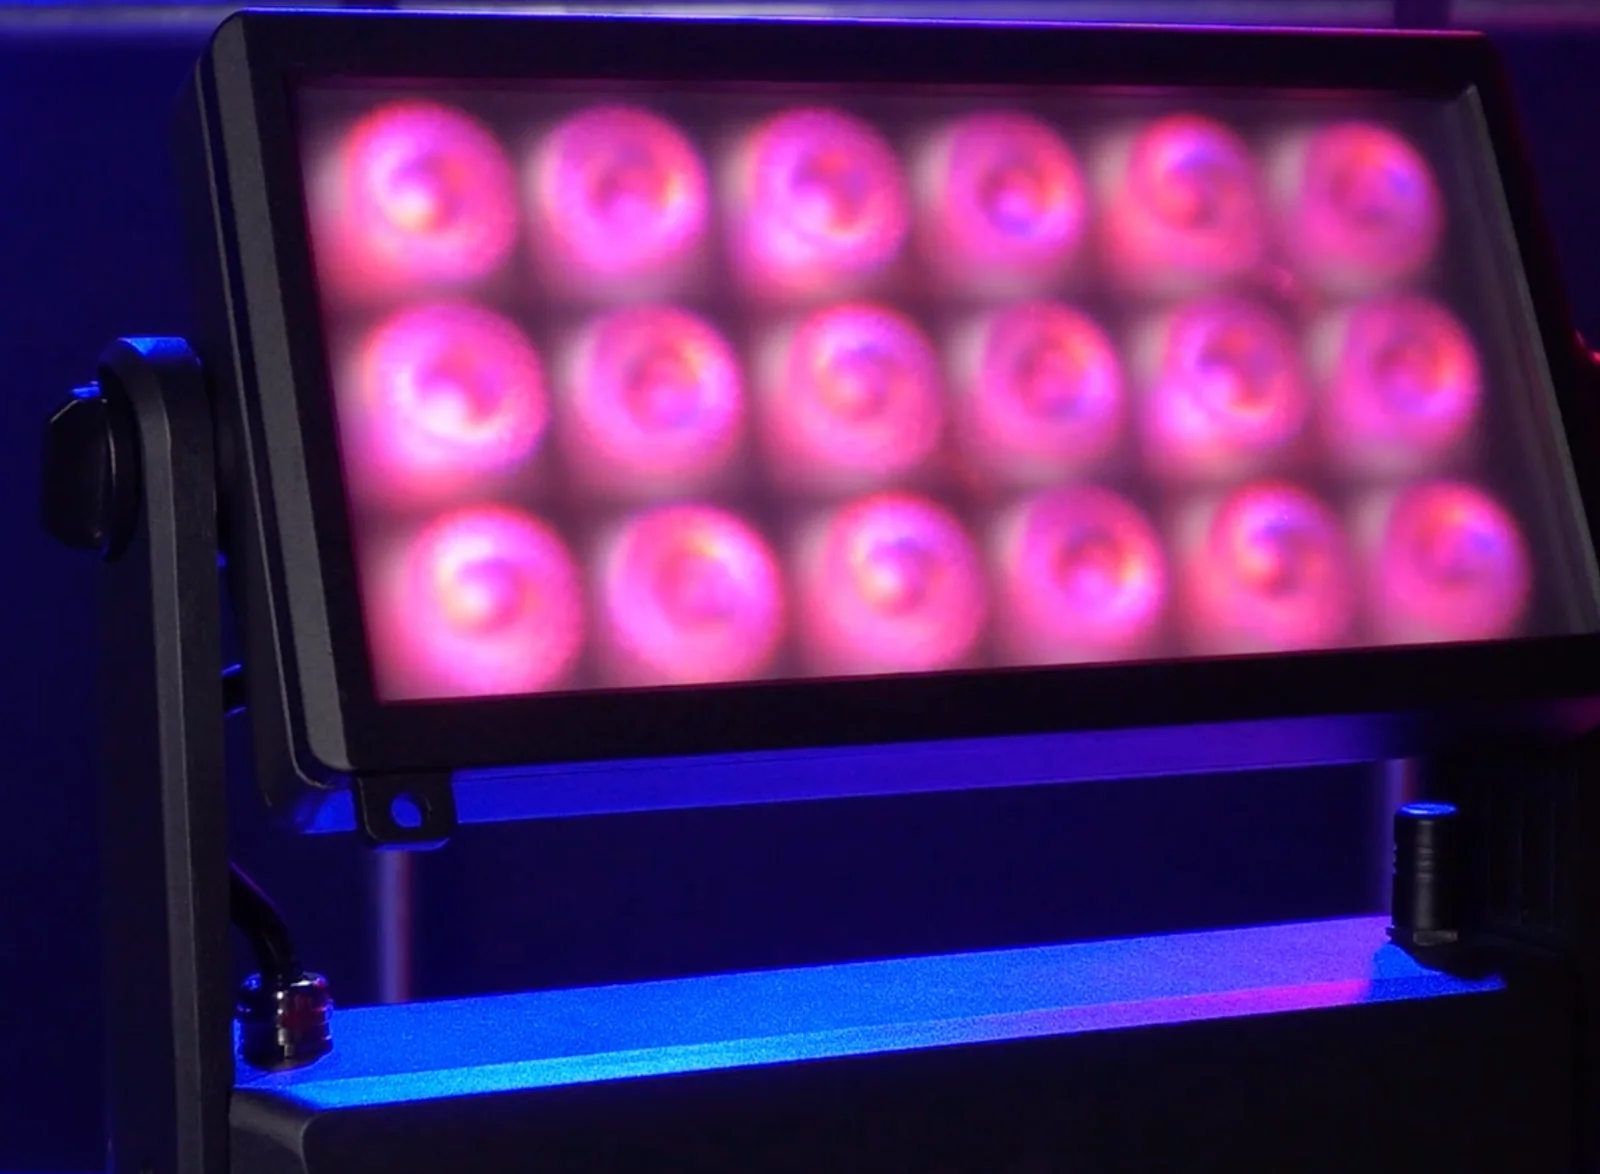
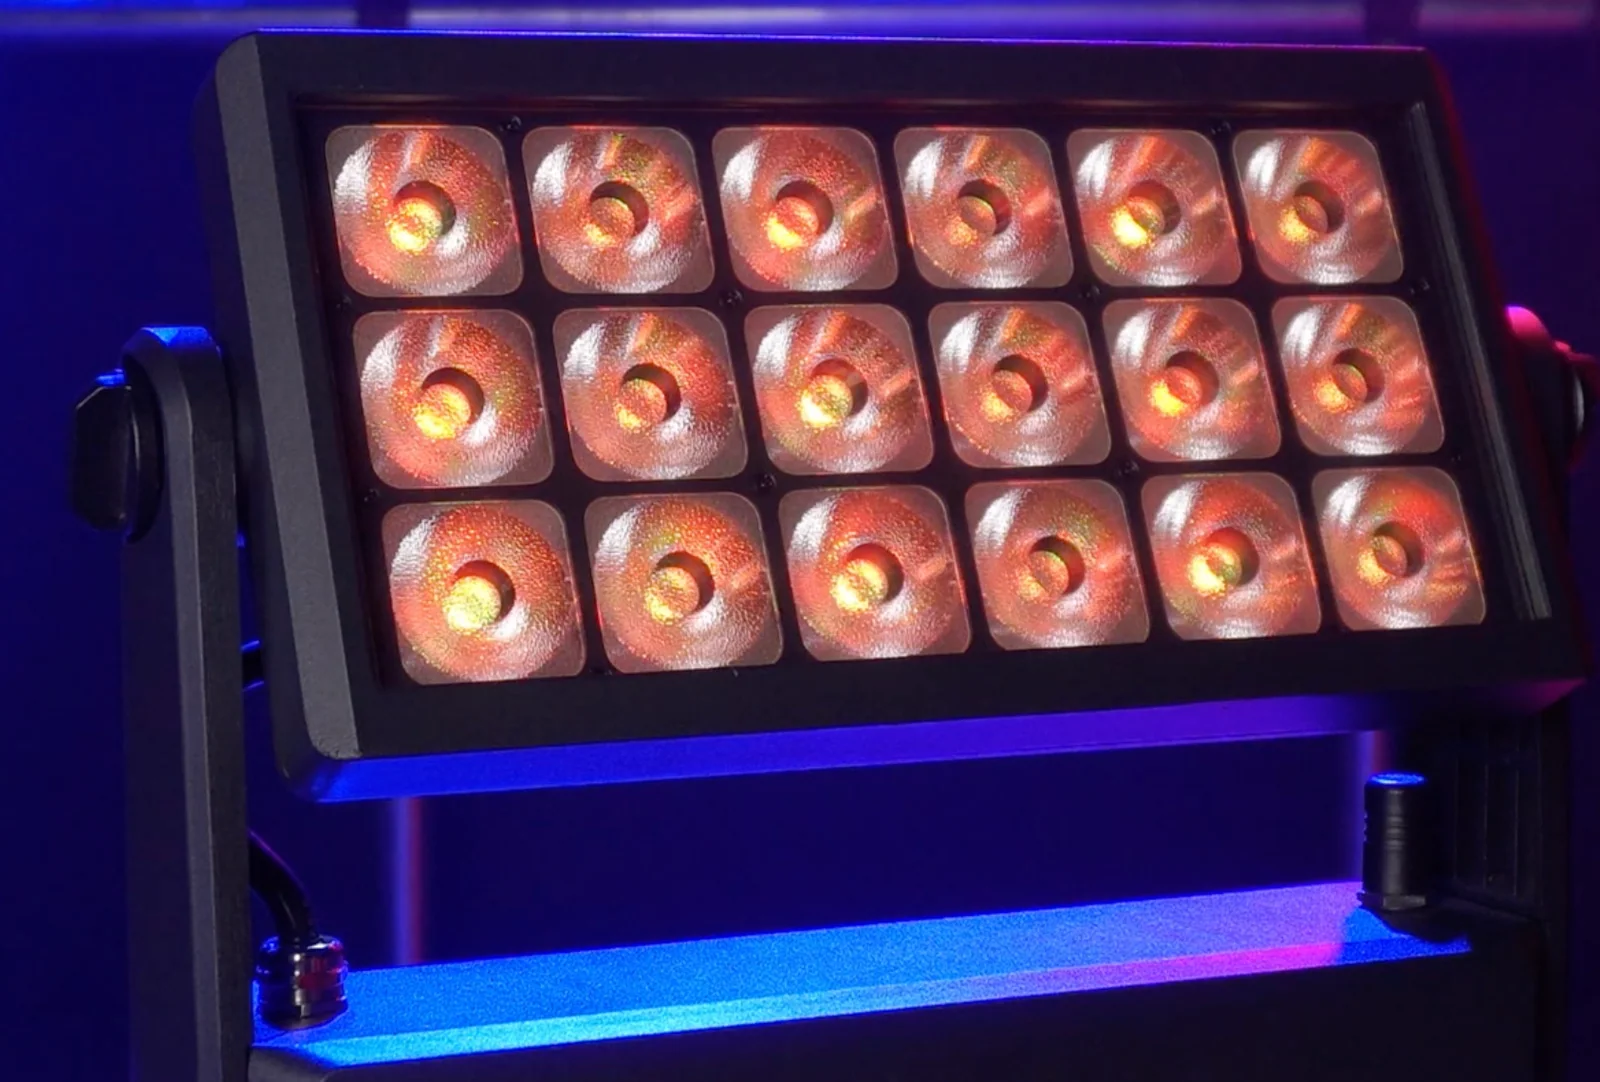
A diffuser placed in front of multiple LED optics can blend visible emitters, soften hotspots, reduce hard transitions, and spread light over a broader area. The user-provided LU-FXPL18X photographs show this practical change: the individual 18 optical cells remain visually distinct without the front panel, while the installed diffuser produces a softer apparent source.
That visual comparison is useful, but it is not a photometric test. The photograph does not establish a specific beam angle, transmission percentage, illuminance, color shift, or uniformity value. Those claims require measured data for the fixture, LED mix, lens, diffuser, dimmer level, and test distance.
Diffusion can also reduce peak intensity because the same available light is redistributed and some light may be lost in the material. The size of that change depends on the diffuser structure and the complete optical system. Ask for photometric files or lux tables both with and without the accessory when the difference matters to a project.
Diffuser or Different Primary Optic?
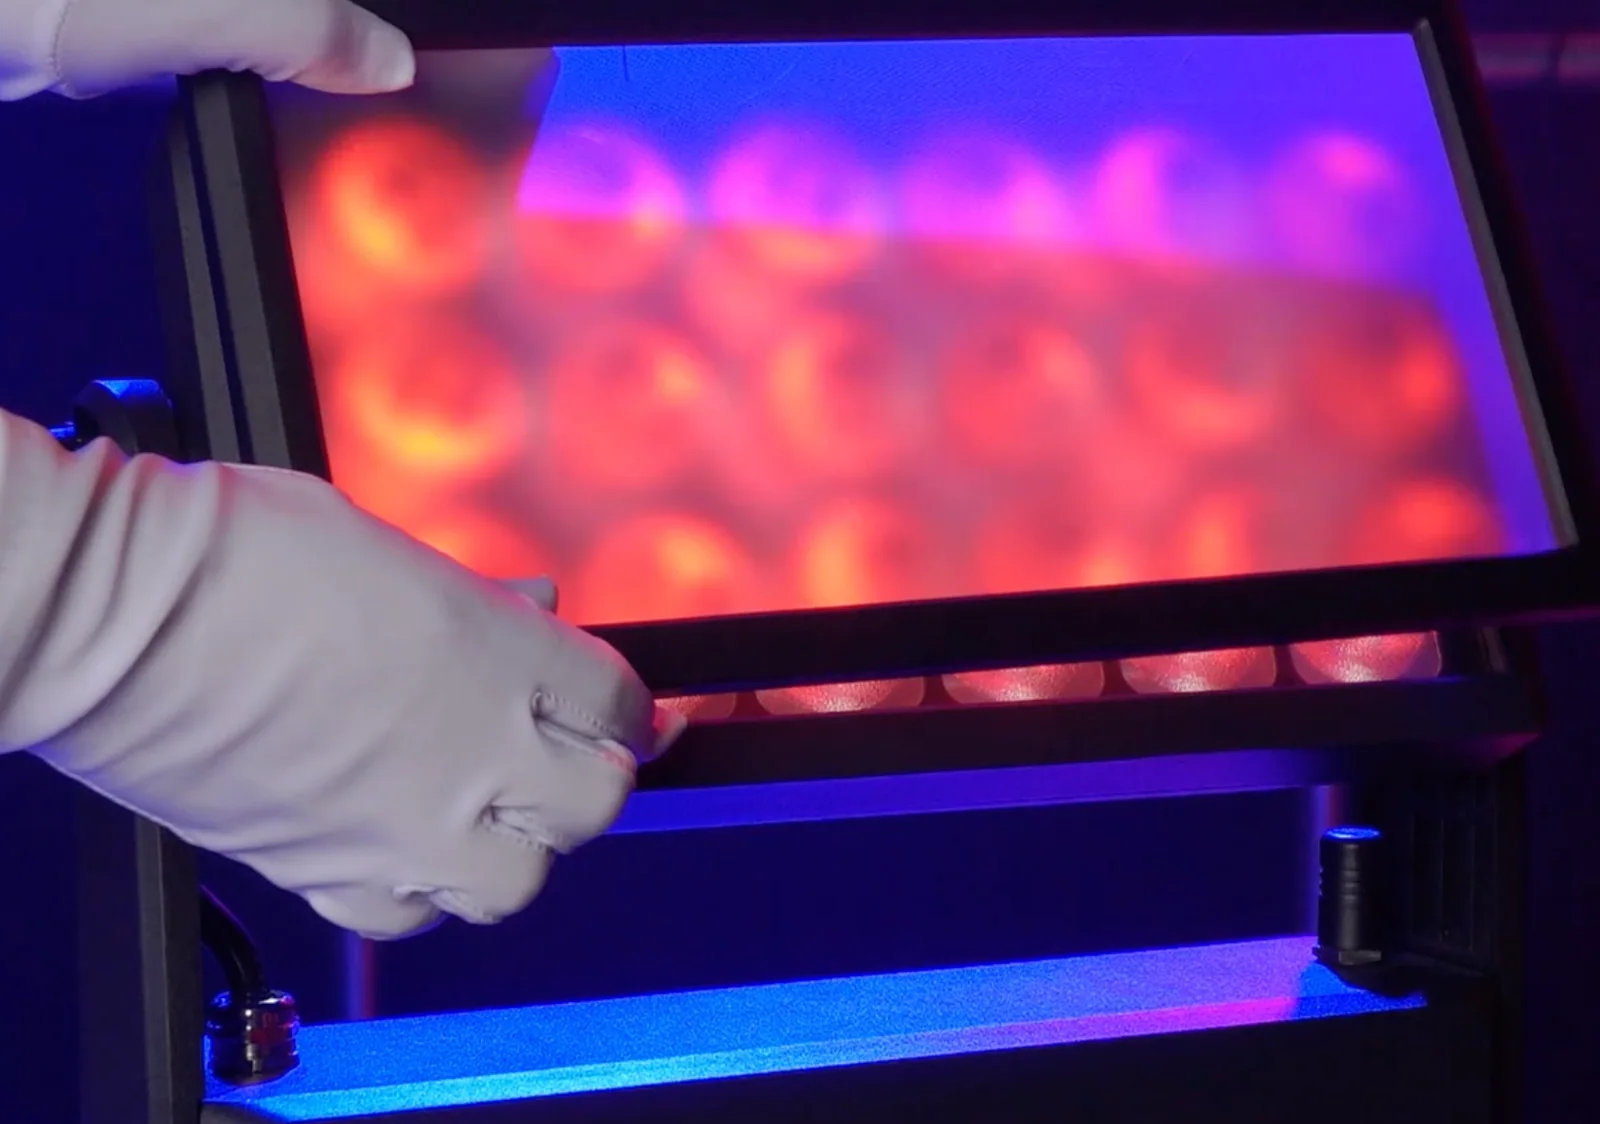
A removable diffuser is useful when a rental or production team wants to change beam character without replacing the complete fixture. It may improve emitter blending for close-range use, camera-facing scenes, scenic surfaces, or a softer wash.
A different primary lens can offer more controlled angular distribution and may preserve peak intensity better for longer throw. Engineered beam-shaping optics can also create elliptical output, such as a narrow vertical distribution with a wider horizontal spread.
Use this decision sequence:
- Define the target width, height, distance, and acceptable spill.
- Decide whether the job needs a symmetrical or asymmetrical distribution.
- Compare the measured output of the standard optic, optional optic, and diffuser configuration.
- Check whether the accessory changes color mixing, hotspots, edge quality, or camera appearance.
- Confirm how the diffuser is retained and whether it can be fitted consistently across a fleet.
The installation photograph shows a full front diffuser being positioned over the LU-FXPL18X optical array. It documents the physical workflow, but the final accessory retention and operating instructions should still be confirmed for the production configuration.
Beam Angle Is Not Brightness
Several specifications are often mixed together:
- Lumens describe luminous flux, or the total visible light emitted.
- Candelas describe luminous intensity in a direction.
- Lux describe illuminance arriving on a surface.
- Beam angle describes the angular width between defined intensity points.
Two fixtures can have the same nominal wattage and different lux because their source efficiency, optical losses, beam distribution, color mix, and thermal control differ. Two fixtures can also publish the same beam angle while producing different edge quality, field angle, peak intensity, or distribution shape.
For a purchase decision, request an IES or LDT photometric file, a candela distribution, or a lux table that states distance, color or CCT, dimmer level, optic, diffuser state, and test conditions. A single maximum-lux value without configuration and distance is difficult to use.
Why Rectangular Floodlights Need Horizontal and Vertical Data
The beam-width formula describes a circular or symmetrical cone most easily. A rectangular 3 × 6 emitter panel may instead produce different horizontal and vertical distributions.
If a fixture is specified as 20° × 40°, the first value should be clearly identified as horizontal or vertical. At 5 m, 20° gives an approximate width of 1.76 m while 40° gives approximately 3.64 m. Rotating an asymmetrical accessory can therefore change whether the wide axis runs across a wall or up a scenic surface.
Ask for:
- Horizontal and vertical beam angles.
- Horizontal and vertical field angles.
- Orientation of the diffuser or lens structure.
- Candela curves in the main photometric planes.
- A polar plot or IES/LDT file for the exact configuration.
What Happens When the Fixture Is Tilted?
The simple beam-width formula models a target surface perpendicular to the beam axis. When a floodlight is aimed obliquely at a wall, floor, or façade, the footprint stretches and becomes less uniform. The near edge and far edge are at different distances, so illuminance does not remain equal across the shape.
Tilt can be useful for reaching a tall target or keeping the fixture away from traffic. It can also create glare, overshoot, and a long elliptical footprint. Model the actual aiming geometry or test from the planned mounting point instead of applying a perpendicular-beam calculation without adjustment.
How Surface and Ambient Light Change the Result
A pale matte wall can make spill and overlap easy to see. Dark paint, brick, foliage, drape, and textured stone absorb or scatter light differently. Glossy surfaces can show hotspots or reflections that are not obvious on a test wall.
Ambient light also changes the apparent beam. A wide wash that looks even in darkness may disappear under house lighting, while a narrow beam may remain visible but create unwanted scallops. Run the sample test with the expected ambient level, surface, color program, and camera setup.
LU-FXPL18X: What the Available Product Data Confirms
The current LumiUp product data identifies the LumiUp LU-FXPL18X (Flex PL18 Pro) as an 18 × 20W rechargeable RGBWA+UV LED panel for stage production, film and television, and creative event lighting. Product photographs show its 18-cell rectangular optical array and removable front diffuser.
Flex PL18 Pro lists 10° and 20° lens options, a 24,000mAh battery, 3-to-18-hour mode-based runtime, charging within 8 hours and 2/6/8/11-channel DMX modes. For beam planning, use photometric measurements from the exact standard-optic or diffuser configuration selected for the project.
Beam-Angle Specification Checklist for Buyers
Before approving a floodlight, wall washer, or battery LED panel, record:
- Exact model, LED configuration, firmware, lens, and diffuser part number.
- Beam angle and field angle, including the measurement convention.
- Horizontal and vertical angles for asymmetrical output.
- Candela distribution, IES/LDT file, or lux table at stated distances.
- Test color or CCT, dimmer level, effects state, and thermal condition.
- Diffuser transmission and whether it changes color, uniformity, or visible emitters.
- Mounting height, tilt, target dimensions, and surrounding spill limits.
- Sample-to-production consistency and accessory retention.
- Camera test requirements, including frame rate, shutter, dimmer level, and color mix.
- Outdoor rating and operating restrictions for the complete assembled configuration.
Treat the diffuser as part of the tested optical system. A photometric report for the bare fixture should not automatically be applied to the fixture with the diffuser installed.
A Practical Sample Test
Use a controlled comparison before committing to a fleet:
- Mark the fixture position and target distance.
- Use the intended color or CCT and dimmer setting.
- Photograph or meter the standard optic on the target surface.
- Fit the approved diffuser without moving the fixture.
- Repeat the same measurements and camera settings.
- Record center lux, edge lux, useful width and height, spill, color appearance, and hotspots.
- Repeat at the expected ambient-light level and aiming angle.
- Save the configuration with the sample record and purchase specification.
This method turns “narrow,” “wide,” and “soft” into evidence that production, sales, and the end customer can review together.
Frequently Asked Questions
What is the best beam angle for a floodlight?
There is no single best angle. Choose from the target size, throw distance, required illuminance, surface, ambient light, spill limits, and visual effect. Use the beam-width formula for a first estimate, then verify the complete fixture configuration with photometric data and a representative sample.
How wide is a 40-degree beam at 5 metres?
On a surface perpendicular to the beam axis, the approximate beam width is 3.64 m. This is a geometric estimate based on 2 × 5 × tan(20°). The visible field may be wider, while measured lux depends on the fixture and optical system.
What is the difference between beam angle and field angle?
Beam angle is measured between the points where luminous intensity is 50% of maximum. Field angle is measured between the 10% points, so it describes a wider area. Visible spill can extend beyond both and does not have one fixed photometric threshold.
Does a diffuser increase beam angle?
It often spreads and softens the output, but the result depends on the diffuser and the original optics. Do not assign a new beam angle from appearance alone. Compare measured photometric data with and without the diffuser on the exact fixture.
Does a narrower beam always produce more lux?
Not always. A narrower distribution can increase center intensity when other factors are comparable, but LED output, optical efficiency, color mix, current, temperature, diffuser losses, and distance also affect lux. Compare measured values under matching conditions.
Can I calculate beam width from beam angle?
Yes. For a symmetrical beam aimed perpendicular to a flat surface, use beam width ≈ 2 × throw distance × tan(beam angle ÷ 2). Treat the result as a planning estimate and use separate horizontal and vertical angles for an asymmetrical beam.
Should I use a diffuser or a wide-angle lens?
Use the option whose measured distribution matches the job. A diffuser may be convenient for softening and blending a multi-emitter source, while a purpose-designed wide or asymmetrical optic may offer more precise control. Compare output, uniformity, spill, color behavior, retention, and repeatability.
Conclusion
Floodlight beam angle is a geometry and photometry decision, not just a degree printed in a product table. Define the target, calculate the approximate coverage, distinguish beam angle from field angle, and compare the exact optic or diffuser configuration with measured evidence.
Changing the diffuser, beam coverage, or required dimmer level can also change the operating demand. Use the battery uplight runtime and battery care guide to repeat the event-duration test with the final optical configuration.
Compare the current LumiUp battery lighting range before selecting a fixture format. For LU-FXPL18X or another production-lighting model, contact LumiUp with the target dimensions, throw distance, mounting position, color requirement, diffuser preference, and required illuminance. The team can review the configuration and identify which photometric or sample evidence is needed before quotation.